

Tips for Cleaning Hair Color Application Brushes
Table of Contents
- Why Proper Cleaning Protects Your Hair Color Brushes
- Tools and Supplies You Need for Cleaning Hair Color Brushes
- Step-by-Step: How to Clean Hair Color Application Brushes After Every Client
- How to Remove Hair Dye from Synthetic Brushes
- How to Sanitize Hair Color Tools Between Clients
- How Often to Replace Hair Tint Brushes
- Drying Techniques and Storage for Long-Lasting Bristles
- Common Cleaning Mistakes That Damage Your Brushes
- Frequently Asked Questions
Last Updated: September 24, 2026
Why Proper Cleaning Protects Your Hair Color Brushes
These tips for cleaning hair color application brushes after every client are the single most important habit for keeping them usable. It protects the bristles, stops pigment from hardening at the base, and keeps your tools hygienic between services.
Tools and Supplies You Need for Cleaning Hair Color Brushes
The right supplies make cleaning fast. You do not need a cabinet full of products. A few basics handle almost every situation.
Here is what to keep at your station:
- Warm water for rinsing and soaking
- Gentle cleanser or a mild soapy solution
- A small mixing bowl for soaking bristles
- Disinfectant approved for salon tools
- A soft cloth for wiping handles
- A flat surface or rack for air drying
Step-by-Step: How to Clean Hair Color Application Brushes After Every Client
Cleaning takes about two to three minutes per brush when you do it right after use. The key is speed. Fresh color rinses away easily. Dried color does not.
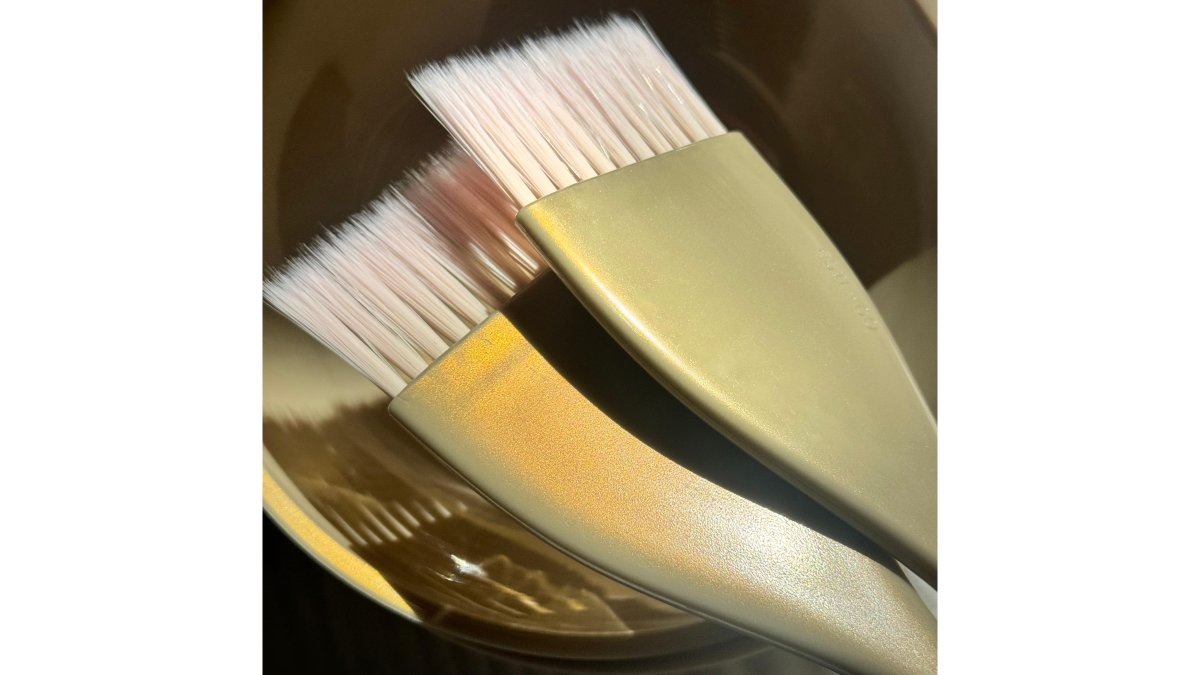
Follow these steps after every client.

Rinsing Bristles Under Warm Water
Start by rinsing the bristles under warm running water. Point the brush down so water flows away from the handle.
Soaking in a Soapy Solution
Next, fill a small bowl with warm water and a few drops of gentle cleanser. Place the bristles in the soapy solution and let them soak for a few minutes.
For heavy pigment, a five-minute soak is usually enough.
Scrubbing Away Residue and Pigment
Now work the bristles gently with your fingers or a soft brush. Move in small circles to lift pigment from deep in the fibers.
How to Remove Hair Dye from Synthetic Brushes
Synthetic bristles, typically nylon, polyester, or a nylon-polyester blend, are the standard for tint brushes because they do not absorb water or color the way natural boar or badger hair does. That does not make them stain-proof. Pigment sits on the surface of the fiber and works into the base where the bristles meet the ferrule, so the cleaning method has to match the material.
Why Synthetic Bristles Behave Differently
Natural bristles have a cuticle that opens and closes with water temperature, which is why some colorists still prefer them for cream color. Synthetic fibers have no cuticle. They are smoother, so pigment releases faster on the surface, but the same smoothness means dye can slide down into the ferrule and dry there, where a rinse will not reach it.
Step-by-Step for Synthetic Bristles
- Rinse under warm water with the bristles pointing down, away from the handle, for 30 to 60 seconds.
- Mix a few drops of gentle cleanser into a small bowl of warm water.
- Soak only the bristles for five to ten minutes. Keep the ferrule and handle dry.
- Work the bristles between your fingers in small circles, starting at the base and moving to the tips.
- Rinse and repeat the soak if color still runs out.
- Blot the ferrule dry with a soft cloth, then air dry flat.
A faint tint left in the fibers is normal for reds, violets, and direct dyes. What matters is that the bristles feel soft and separate cleanly, not that they look brand new.
Removing Stubborn Pigment Stains
For dried or set-in color, a longer soak beats harder scrubbing. Scrubbing frays the feathered tip, which is the part of the brush that controls color placement.
- Plastic handles: wipe with a soft cloth and a drop of gentle cleanser. Avoid abrasive pads, which scratch the surface and give pigment a place to grab next time.
- Metal ferrules: dry immediately after rinsing. Standing water at the ferrule is what loosens bristles and dulls the finish.
- Stained bristles: a second five-minute soak in fresh soapy water lifts more pigment than one long soak, because the water stays saturated with dye the longer it sits.
What to Do With the Rinse Water
This is the step almost no guide covers. Rinse water from tint brushes contains residual dye, developer, and sometimes bleach. Do not pour it down a sink that feeds directly into a storm drain, and do not dump it on the ground.
When Synthetic Bristles Are Past Saving
Synthetic fibers do not recover from heat damage. If a brush was left near a hot tool or dried with a blow dryer, the tips curl and the fiber loses its spring. No amount of soaking fixes that, replace the brush.
How to Sanitize Hair Color Tools Between Clients
Sanitization goes beyond cleaning. Sanitization is the process of reducing germs on a tool to a safe level after it has been cleaned. Cleaning removes color and product. Sanitizing kills what you cannot see.
To sanitize your tools:
- Wash off all visible color and product
- Dry the tool completely
- Apply a salon-approved disinfectant
- Follow the contact time on the label
- Let tools air dry before the next client
How Often to Replace Hair Tint Brushes
There is no universal replacement schedule, because brush life depends on how often you use it, what you put through it, and how well you clean it. What you can do is learn to read the signs of degradation before they show up in a client's color result.
How Bristles Actually Wear Out
A tint brush fails in three stages, and most colorists only notice the third.
- Residue buildup at the base. Pigment and developer dry where the bristles meet the ferrule. The tips still look fine, but the brush holds less color and releases it unevenly.
- Fiber fatigue. Repeated wet-dry cycles and heat exposure cause synthetic fibers to lose their memory. They stop springing back into shape.
- Tip deformation. The feathered edge, the part that gives you control at the root, frays, splits, or curls. This is when application quality drops noticeably.
A Simple Test Before Every Service
Hold the brush under warm water and squeeze the bristles between your thumb and forefinger. A healthy brush separates cleanly and springs back. A worn brush stays clumped, feels gummy at the base, or sheds a few fibers.
Signs It Is Time to Replace
| Sign of Wear | What It Means | Action |
|---|---|---|
| Splayed or fanned bristles | Loss of shape and control | Replace |
| Stiff, gummy feel after cleaning | Residue trapped at the base | Deep clean once; replace if it persists |
| Frayed or flattened feathered tip | Tip damage from scrubbing or heat | Replace |
| Color bleeding after a deep clean | Pigment set deep in the fibers | Replace |
| Cracks in the handle or ferrule | Structural failure; water can enter | Replace immediately |
| Bristles shedding during use | Glue breakdown at the ferrule | Replace immediately |
How Often, Realistically
For a full-time colorist doing eight to twelve color services a week, a quality tint brush typically lasts three to six months with proper care. High-volume stylists who work mostly with permanent color and lightener tend to replace sooner, because those products are more alkaline and harder on fibers.
Why Worn Brushes Cost You More Than a New One
A frayed feathered tip deposits color in uneven strokes. That shows up as patchy coverage, harsh root lines, and extra time spent blending. The cost of a replacement brush is almost always less than the cost of a redo, and a redo costs you a slot in your book.
Storage and Rotation Extend Life
Keep at least two brushes in rotation. Store the spare bristle-up in a dry holder, and never pack a damp brush into a closed case, trapped moisture weakens the glue at the ferrule and is the most common cause of premature bristle shedding.
Drying Techniques and Storage for Long-Lasting Bristles
How you dry and store a brush matters as much as how you clean it. Poor drying is the quiet cause of most brush damage.
Common Cleaning Mistakes That Damage Your Brushes
Most brush damage comes from a short list of habits. Fix these and your tools last far longer.
- Letting color dry on the bristles. Dried pigment is the number one killer.
- Soaking the whole brush. Water in the ferrule loosens bristles.
- Using hot water. It can warp synthetic fibers.
- Skipping sanitization. Cleaning alone does not kill germs.
- Drying with heat. Hair dryers and radiators damage bristles.
- Storing wet brushes. Trapped moisture breeds bacteria and weakens glue.
- Scrubbing too hard. Rough scrubbing frays the feathered tip.
Frequently Asked Questions
How should you clean hair color brushes after use?
Rinse the bristles under warm water immediately after each client to stop dye from setting. Work a small amount of gentle cleanser or dish soap through the bristles with your fingers, then rinse until the water runs clear. For stubborn pigment, soak the brush head in a soapy solution for 10 to 15 minutes before scrubbing. Lay the brush flat on a clean surface to air dry. Cleaning right away keeps the bristles soft and prevents product buildup that shortens brush life.
Can I use dish soap to clean hair color application brushes?
Yes, a mild dish soap works well for routine cleaning because it breaks down the oils and pigments in hair dye. Mix a few drops into warm water, work it through the bristles, and rinse thoroughly. Avoid harsh degreasers or abrasive cleaners, which can dry out synthetic fibers and leave residue that affects color deposit. A gentle cleanser designed for salon tools is a good alternative if you want something formulated for repeated daily use.
Is it necessary to disinfect tint brushes between clients?
Yes. Cleaning removes visible dye and product buildup, but sanitizing kills bacteria and cross-contamination risks between clients. After cleaning, submerge the bristles in an EPA-registered disinfectant solution following the contact time on the label, then rinse and air dry. Never share an uncleaned brush between clients. Keeping a rotation of two or more brushes lets one disinfect fully while you work with the other, which matters in high-volume salons.
How do I know when it's time to replace my hair tint brushes?
Replace a brush when bristles splay, fray, or lose their feathered edge, when the handle cracks, or when dye stains will not lift after a deep clean. A brush that no longer holds a neat section or spreads color evenly is costing you precision on balayage and foil work. For most working colorists, that means replacing tint brushes every three to six months with daily use. Rotating several brushes and cleaning them properly extends that window.
Your brushes take a beating every single day, and how you care for them decides whether they last months or weeks. ESTL+CO builds tint tools for professionals who need precision and performance, from stain-resistant tint bowls to ergonomic feathered brushes designed to reduce hand strain and deliver cleaner color application. Get started with ESTL+CO and give your station tools that keep up with your busiest days.